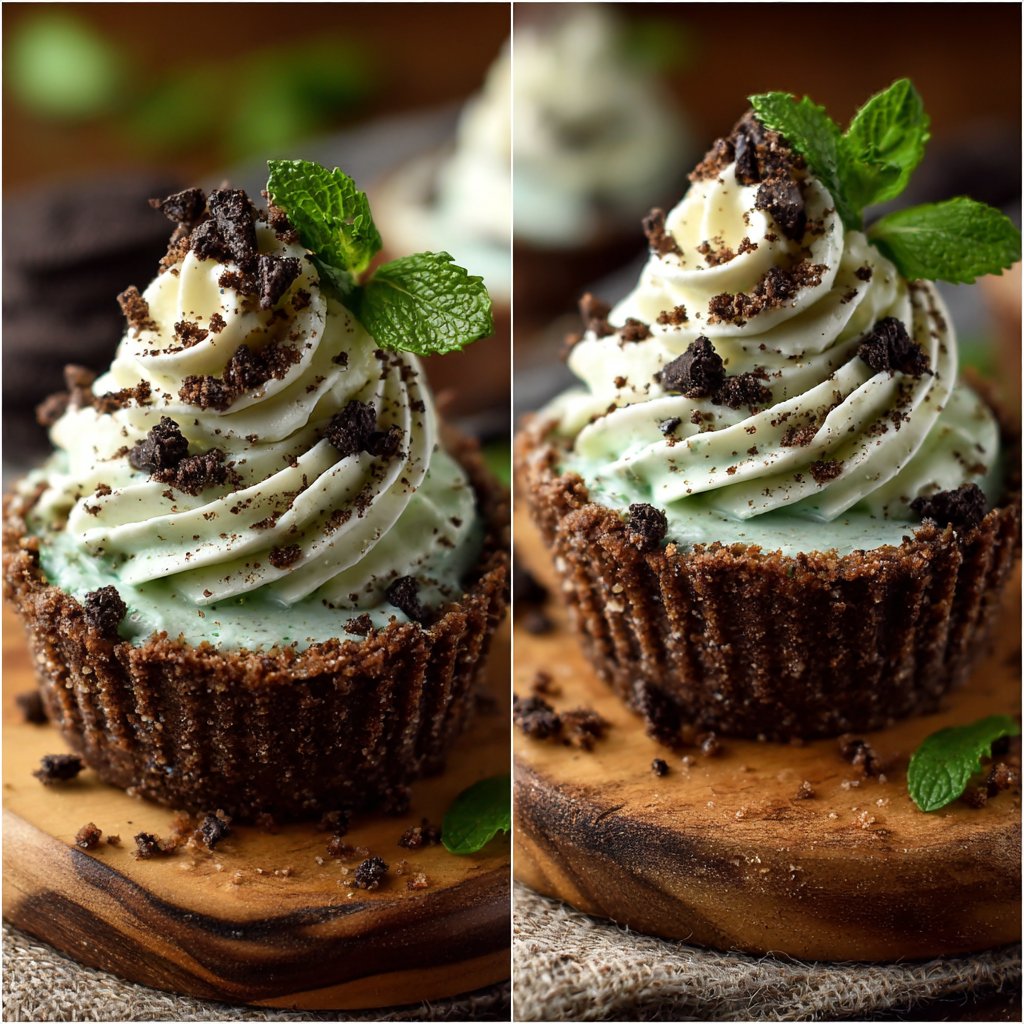
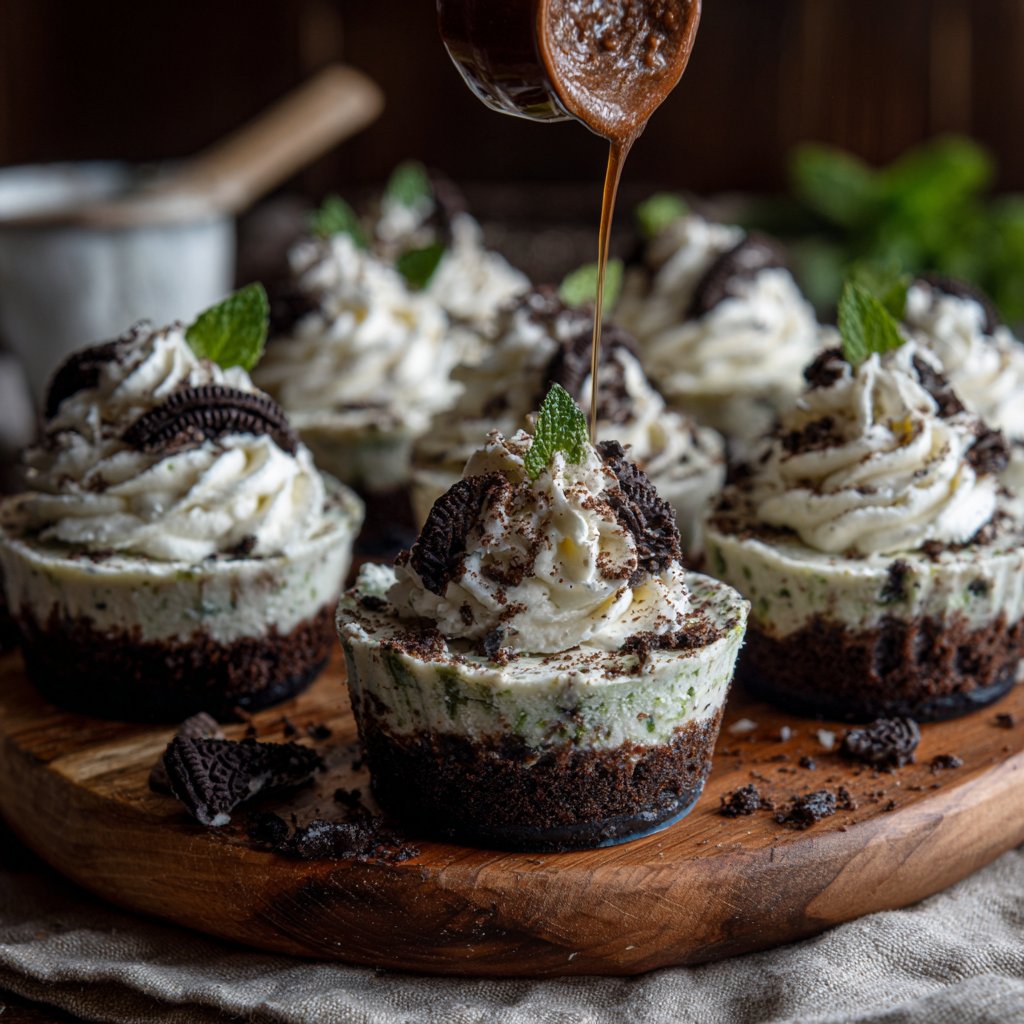
No-Bake Mint Oreo Cheesecake Cups
Highlighted under: Baking Fun
I absolutely love making these No-Bake Mint Oreo Cheesecake Cups for gatherings or just a special treat at home. They are incredibly easy to whip up and require no baking, which makes them perfect for warm days. The creamy filling, packed with mint and Oreo goodness, is a delightful balance of flavors. Plus, the individual cups make serving a breeze and allow everyone to enjoy their own little dessert without any fuss. Trust me, once you try these, you’ll want to make them over and over again!
When I first came across the idea of a no-bake cheesecake, I was intrigued. Could I really achieve that creamy, rich texture without turning on the oven? After some experimentation, I discovered the perfect combination of cream cheese, whipped cream, and crushed Oreos. The minty twist was an inspiration that turned out to be the star of the show!
With each cup, I felt the balance of flavors truly come alive. The key is in allowing the cheesecake mixture to chill properly for a few hours, enhancing the mint flavor and ensuring that delightful creamy texture. It's a perfect summertime treat that never fails to impress my guests.
Why You Will Love This Recipe
- Rich mint flavor balanced with creamy cheesecake
- No-bake recipe makes it quick and easy to prepare
- Perfectly portioned individual cups for easy serving
Perfecting the Cheesecake Filling
When making the cheesecake filling, it's essential to use room temperature cream cheese. This ensures a smooth and creamy texture that will blend seamlessly with the other ingredients. Aim for a glossy mixture as you combine the cream cheese, powdered sugar, and peppermint extract. If you find lumps in your cream cheese, you can use a handheld mixer to beat it before adding the other ingredients, which will help achieve that velvety consistency.
For added richness, consider using full-fat whipped cream instead of a lighter variety. The fat content will enrich the cheesecake filling, creating a creamier mouthfeel and amplifying the overall flavor. When folding in the whipped cream, use a gentle motion to maintain airiness—this adds a light texture to the final product. If overmixed, the filling can become dense and lose that delightful fluffiness.
Assembling and Chilling the Cups
As you layer the cheesecake mixture over the Oreo base, try to distribute it evenly across all cups. This ensures that each cup has the same dessert experience in terms of flavor and texture. A small offset spatula or the back of a spoon can help you achieve a smooth, even surface. You might notice that as you fill them, you'll want to leave a little space at the top for the toppings you plan to add.
Chilling the cups is crucial for the cheesecake to set properly. While a minimum of two hours in the refrigerator is recommended, aim for around four hours for the best texture. A well-set cheesecake will be firm to the touch but will still retain a creamy quality. If you're preparing them in advance, they can be stored in the fridge for up to two days, making them an exceptional make-ahead dessert option.
Ingredients
Ingredients
For the Cheesecake Filling
- 8 oz cream cheese, softened
- 1 cup whipped cream
- 1/2 cup powdered sugar
- 1/2 tsp peppermint extract
- 1 cup crushed Oreos (plus extra for topping)
For the Cup Assembly
- 4 Oreo cookies, whole (for the bottom of each cup)
- Mint leaves (for garnish, optional)
Instructions
Instructions
Prepare the Base
Place one whole Oreo cookie at the bottom of each serving cup.
Make the Filling
In a medium bowl, combine softened cream cheese, powdered sugar, and peppermint extract. Mix until smooth.
Fold in the Whipped Cream
Gently fold in the whipped cream until fully incorporated. Then, stir in the crushed Oreos.
Fill the Cups
Spoon the cheesecake mixture over the Oreo base in each cup until filled.
Chill
Refrigerate for at least 2 hours to allow the cheesecake to set.
Serve
Before serving, top with additional crushed Oreos and mint leaves, if desired.
Pro Tips
- For an even richer taste, use double-stuffed Oreos. Make sure to let the cheesecake cups chill adequately to enhance the flavors.
Flavor Variations
If you want to switch things up a bit, try adding a layer of chocolate ganache on top of the cheesecake before the final toppings. Simply heat equal parts of chocolate and cream in a microwave or double boiler until smooth, then pour it over the set cheesecake layer. This not only enhances the flavor but also adds a luxurious finish to the cups.
Alternatively, you can swap out the peppermint extract for other flavorings like almond or vanilla. If you're in the mood for something seasonal, adding a hint of pumpkin spice or cinnamon could create a delightful fall-inspired treat. Just be mindful of how these flavors might mix with the Oreos, and adjust the amounts to taste.
Storage and Make-Ahead Tips
These No-Bake Mint Oreo Cheesecake Cups are perfect for preparing ahead of time, especially for parties or family events. Once assembled, they can be kept in an airtight container in the refrigerator. If you're planning to make them more than a couple of days ahead, consider storing the base and the filling separately to maintain optimal texture and flavor. Just assemble them on the day you plan to serve for the best experience.
If you're interested in making a larger batch, simply double the ingredients and use larger cups or jars. Keep in mind that larger portions may require a slightly longer chilling time to set properly. That said, maintaining the ingredient ratios is key to preserving the intended flavor balance, so be cautious not to scale too far beyond what the recipe suggests.
Questions About Recipes
→ Can I use a different cookie for the base?
Absolutely! You can use chocolate or even graham crackers for a different flavor profile.
→ How long can these cheesecake cups be stored?
They can be stored in the refrigerator for up to 3 days. Just cover them with plastic wrap.
→ Is there a dairy-free option for this recipe?
Yes, you can use dairy-free cream cheese and whipped cream to make it suitable for a dairy-free diet.
→ Can I make this cheesecake in a larger dish instead of cups?
Certainly! You can prepare it in a springform pan using the same ingredients and method; just adjust the chilling time.
No-Bake Mint Oreo Cheesecake Cups
Created by: The Chefvictorcooks Team
Recipe Type: Baking Fun
Skill Level: Beginner
Final Quantity: 4 cups
What You'll Need
For the Cheesecake Filling
- 8 oz cream cheese, softened
- 1 cup whipped cream
- 1/2 cup powdered sugar
- 1/2 tsp peppermint extract
- 1 cup crushed Oreos (plus extra for topping)
For the Cup Assembly
- 4 Oreo cookies, whole (for the bottom of each cup)
- Mint leaves (for garnish, optional)
How-To Steps
Place one whole Oreo cookie at the bottom of each serving cup.
In a medium bowl, combine softened cream cheese, powdered sugar, and peppermint extract. Mix until smooth.
Gently fold in the whipped cream until fully incorporated. Then, stir in the crushed Oreos.
Spoon the cheesecake mixture over the Oreo base in each cup until filled.
Refrigerate for at least 2 hours to allow the cheesecake to set.
Before serving, top with additional crushed Oreos and mint leaves, if desired.
Extra Tips
- For an even richer taste, use double-stuffed Oreos. Make sure to let the cheesecake cups chill adequately to enhance the flavors.
Nutritional Breakdown (Per Serving)
- Calories: 380 kcal
- Total Fat: 26g
- Saturated Fat: 15g
- Cholesterol: 195mg
- Sodium: 85mg
- Total Carbohydrates: 32g
- Dietary Fiber: 3g
- Sugars: 24g
- Protein: 6g